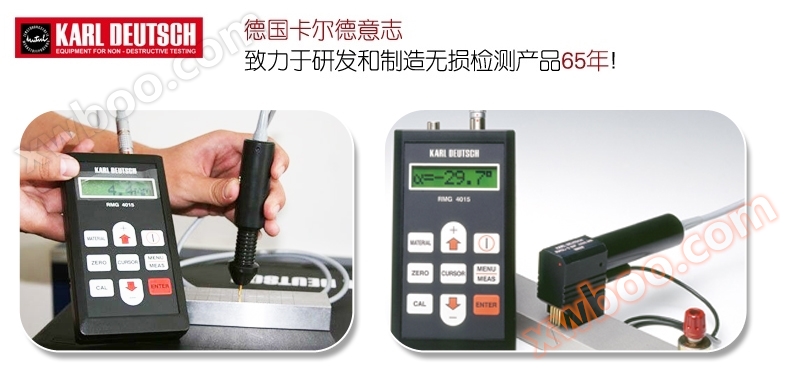
Features of the German KDRMG4015 crack depth gauge:
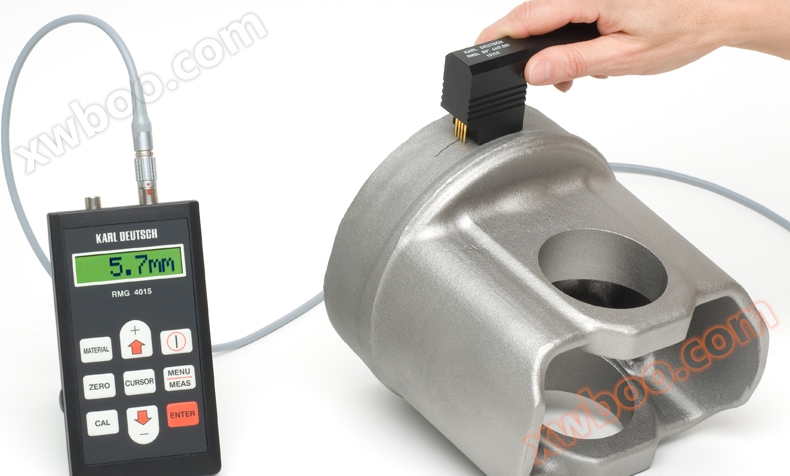
The new German KDRMG4015 crack depth gauge can measure iron materials, austenitic steel workpieces, and can also be used for copper, brass, aluminum, and other non-ferrous materials. It operates according to the principle of a potential probe: a probe with four spring-loaded, gold-plated pins spans across the crack in the workpiece for detection. Continuous alternating current enters the workpiece through two probes; The other two probes measure the voltage drop after the current passes through the bottom of the crack. The alternating current of the instrument utilizes the skin effect, which means that the current flows on the surface of the conductor, thus following the contour of the crack. The operation and measurement value information are controlled by the microprocessor of the measuring instrument, completely avoiding the occurrence of erroneous measurements and misoperations caused by incomplete contact. The detection report of the German KDRMG4015 crack depth gauge can be printed from a small printer (provided in the attachment) through an RS232 serial port cable, or the instrument can communicate with a PC (via STATWIN 2002 software).
This PC requires the use of the Windows operating system, which not only provides measurement values but also offers data management and chart display. In addition, new detection reports or other files can also be created.
The determination of crack depth using the potential probe method of the German KDRMG4015 crack depth gauge is based on the measurement of resistance at two points on the surface of the metal workpiece. If there is a crack between two points,
Then its resistance value is higher than the resistance value without cracks. The resistance will increase at unknown depths. In this new method, four electrode technology is used:
The German KDRMG4015 crack depth gauge generates continuous current through the workpiece using two electrodes Sl and S2. Measure the voltage value U between the other two electrodes Ml and M2, and the resistance value between them is proportional to the voltage. Therefore, the voltage value U is determined by the unknown crack depth h, the known measurement pole distance 2a, the current pole distance 2s, and the electromagnetic properties of the material. If alternating current (AC) is used, due to the skin effect, the electric field and power lines pass through the area below the surface. At the same time, the current density increases.
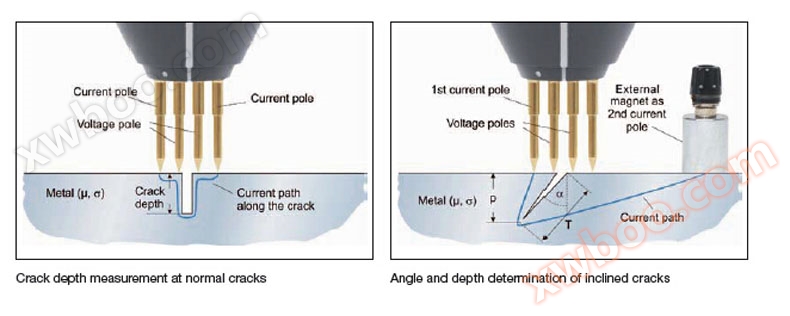
The higher the frequency of the crack depth using the potential method of the German KDRMG4015 crack depth gauge, the more pronounced this effect becomes, and the current will flow along the crack surface. As the cross-sectional area of the wire decreases, it can be seen that the resistance value is increasing. Due to the absence of skin effect in direct current, current passes through low resistance points, i.e. along short geometric distances. In order to obtain accurate crack depth at low measurement currents, alternating current must be used. Low current will avoid burning the contact area on the surface of the workpiece, thereby protecting the workpiece surface and the detection electrode. In addition, energy consumption will be greatly reduced when powered by batteries. Because the skin effect increases the voltage drop across the crack, it reduces the effective current path between the electrodes compared to related traditional instruments. Therefore, small probes can be used to provide high accuracy and precision. Even if the material is a good conductor of electricity, such as high-grade steel or aluminum, it can be measured.
The shortcomings of traditional instruments
The crack depth h, measurement voltage, and frequency are non-linear and determined by different electromagnetic characteristics. This is determined by different materials, and traditional instruments are insufficient to consider this. Due to the extremely small measurement voltage (only a few uV), traditional instruments are particularly susceptible to interference. The induced voltage generated by the position of the cable also has a common impact on the measurement results. Additionally, contact issues cannot be controlled when the probe comes into contact with the surface. The wear of the probe may lead to unpredictable results. The traditional three electrode probe measurement and separate current contacts can cause more errors because the distance between the current contacts is not taken into account.
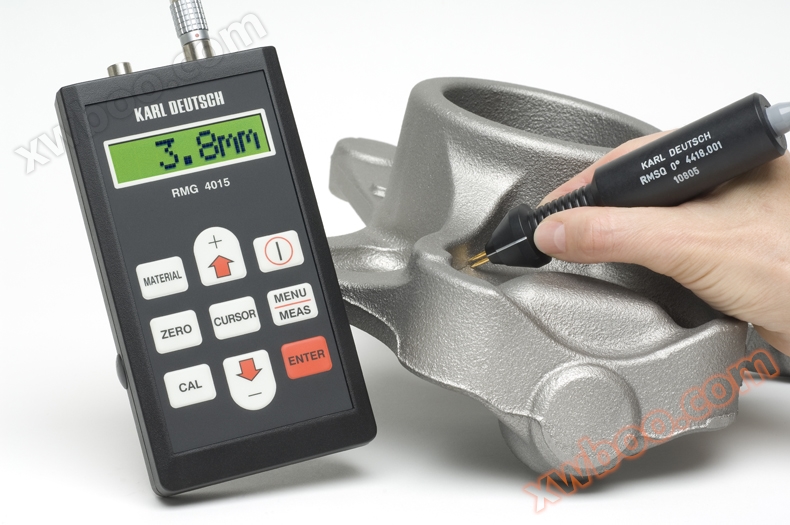
New probe of German KDRMG4015 crack depth gauge:
The new probe of the German KDRMG4015 crack depth gauge consists of four probes. 40 years of experience and continuous development in crack depth measurement have led us to what we have now: DE3828552C2! There is a straight probe and an angled probe. The straight probe adopts a square pin arrangement, which can measure very small and uneven surfaces.
Compared with the linear contact shape with external current contacts, the German KDRMG4015 crack depth gauge requires the probe to be placed in a position that places the crack at the center of the measurement and detection contacts. In this way, the voltage drop path can be measured up to a few millimeters. The detection and measurement contacts are composed of spring-loaded, gold-plated hard contact tips, which ensure excellent electrical contact and low contact pressure requirements.

The German KDRMG4015 crack depth probe has a triangular contact area, ensuring the pressure exerted by the spring on the contact pin to the surface of the workpiece. Obtain the same pressure for each needle to provide stable results during measurement. The triangular contact surface makes it easy to make contact on uneven surfaces. The angle probe can also be used on the inner wall of the pipeline or other hard workpiece surfaces.
The German KDRMG4015 crack depth gauge can replace the contact pin without using tools: after wear, remove the contact pin from the guide cylinder of the probe and replace it. The probe itself is maintenance free. For rough or oxidized surfaces, self bending contact pins are the preferred result: they automatically adjust the coordinate axis when pressed onto the surface. In this way, narrow, non - or weakly conductive layers can be penetrated and safely in contact with the substrate.
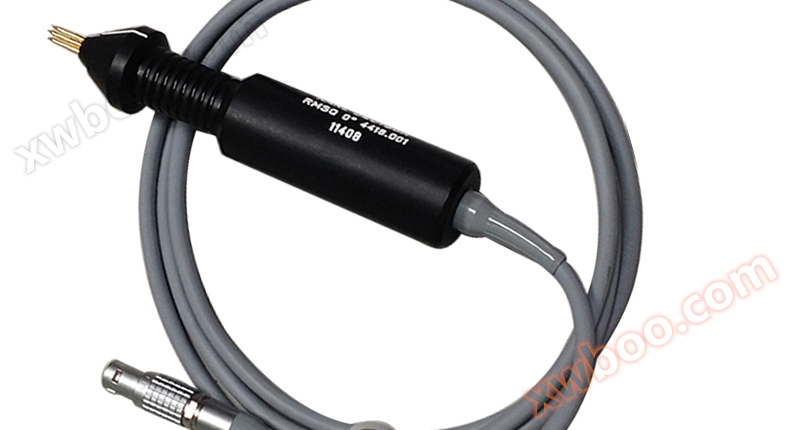
The KDRMG4015 crack depth gauge probe from Germany has a built-in circuit that includes a preamplifier. In this way, the measurement signal can be safely transmitted to the instrument, and in addition, the memory unit is placed inside the probe. It stores independent probe data and material properties.
Instructions for using RMG 4015:
The German KDRMG4015 crack depth gauge provides a calibration block with artificial cracks ranging from 0mm to 10mm depth, allowing users to calibrate the instrument and probe during measurement. The deviation caused by probe wear or temperature exceeding the range can be compensated for through recalibration. The correct value can be stored in the probe. The measurement voltage conversion within the crack depth is controlled by the microprocessor of RMG 4015. The factory set calibration table is stored in the instrument for this purpose. Before measurement, place the probe at a crack free location on the workpiece and compare the measured voltage with the stored value in the calibration table. The microprocessor determines the exact depth of cracks to be measured in the future based on the special properties of the material. The measurement is monitored by a microprocessor. Misoperation, incorrect contact, or probe vibration caused by insufficient probe contact can be avoided. In this way, it is almost impossible for erroneous results to occur. Good measurement re linearity can be obtained (+/-0.1mm crack depth of 100mm). Even low-grade steel or non permeable (such as austenitic steel) or highly conductive non-ferrous materials (such as aluminum or copper) can achieve sufficient precision.
The technical details of the German KDRMG4015 crack depth gauge are similar to other traditional instruments, with a current value of 500mA through the workpiece. However, compared to current instruments that generate continuous current once the probe comes into contact, the German KDRMG4015 crack depth gauge only produces current pulses lasting a few milliseconds in a single detection. The repetition rate is almost once per second for detection. The display is updated accordingly. In this way, the instrument can operate for 12 hours with continuous contact of the probe when using batteries. If a rechargeable battery is used, the instrument does not need to be turned on, and the battery can be charged through an external charger. The membrane keyboard is composed of keys that allow direct access to the basic measurement functions of the instrument. Many parameters of the German KDRMG4015 crack depth gauge can be displayed through the menu button. Display parameters in clear language (English or German). The operation is as simple and easy as traditional wall thickness and coating thickness measuring instruments. The data logger of the German KDRMG4015 crack depth gauge instrument can process over 3850 measurement results and store over 300 independent data. The built-in real-time clock automatically records measurement data and measurement time. The measurement can be printed out through a series of interfaces. The same interface also allows communication with a PC through the application program "STAT3 WINDOWS" of the WINDOWS operating system. It not only has transmission function, but also can process and display measurement values in charts.
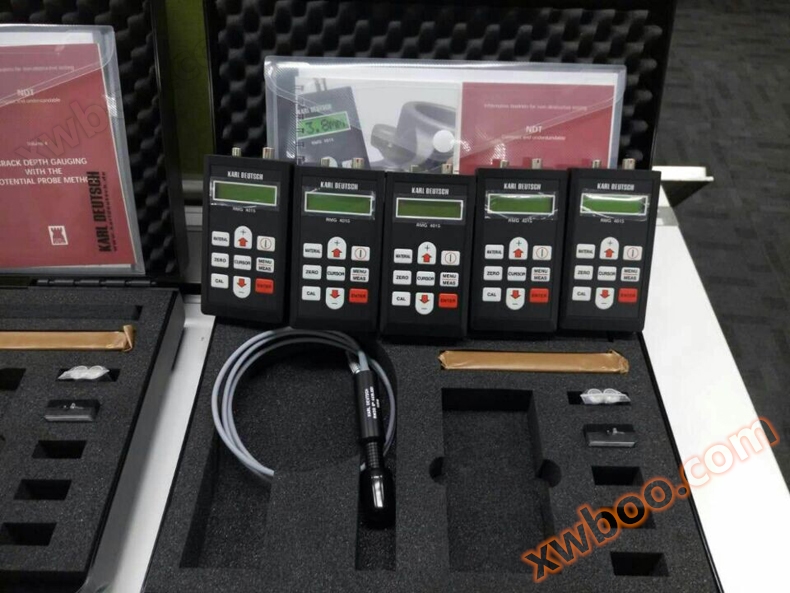
In addition, the German KDRMG4015 crack depth gauge can provide inspection reports and other documents. Download the information page and operation manual of STATUS Windows. STATWIN2002 uses the principle of potential probe for crack depth measurement. The German KDRMG4015 crack depth gauge has good stability and a simple measurement method. The reduction in external dimensions, simple operation of the probe, easy-to-use program, and low price make the German KDRMG4015 crack depth gauge a low-cost, simple, and stable detection instrument. It is a beneficial supplement to magnetic particle inspection and penetrant inspection. Recommended for use on expensive or large workpieces, it is necessary to control both the reprocessing of the workpiece and the growth of cracks.
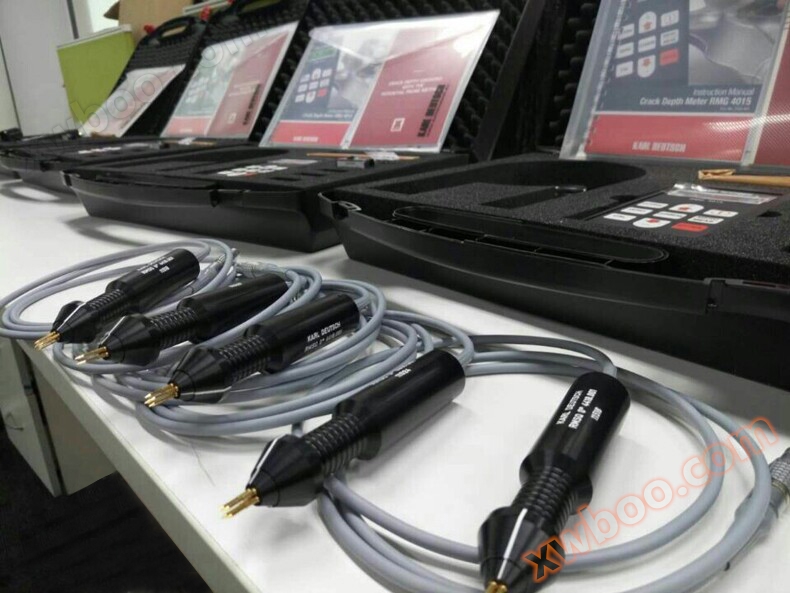
Various probe parameters
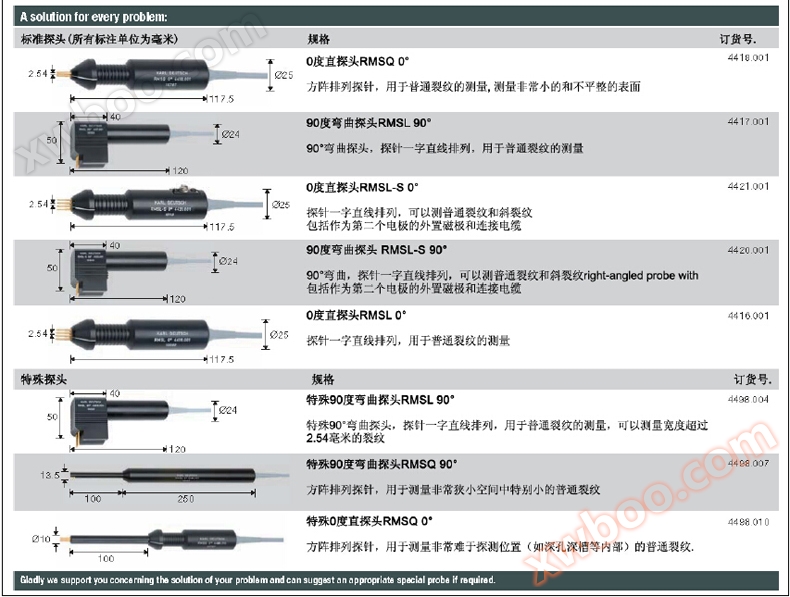
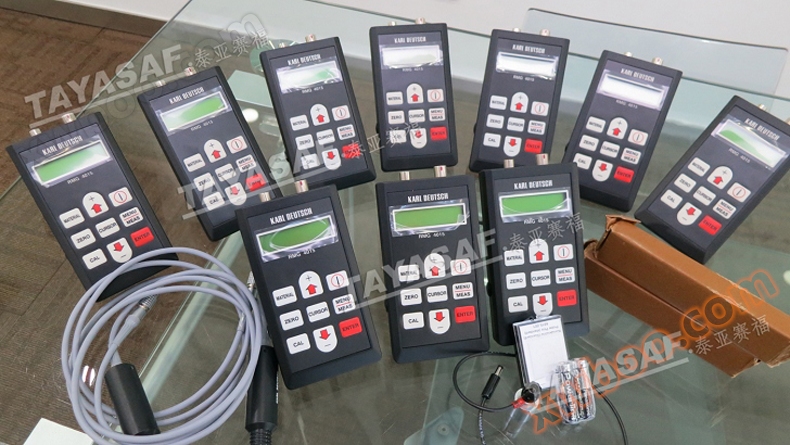


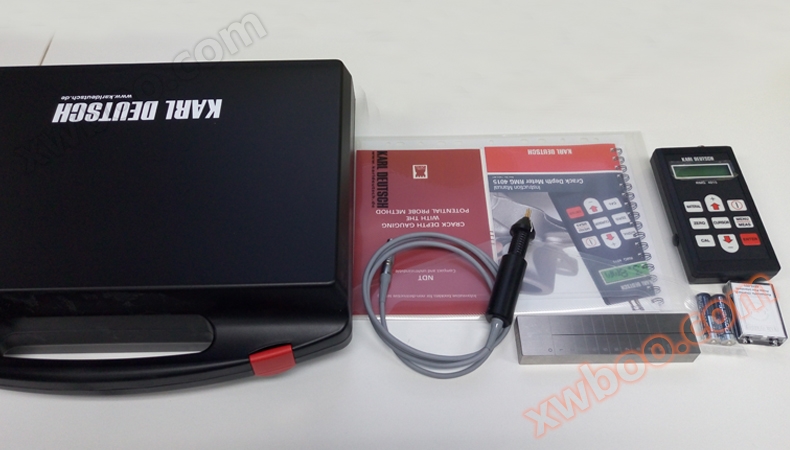
0 ° probe RMSL 0 ° (probe array arrangement)
Standard test block (0-10mm crack)
8 standard probes
Two No. 5 batteries
Instruction manual and factory report
Instrument box
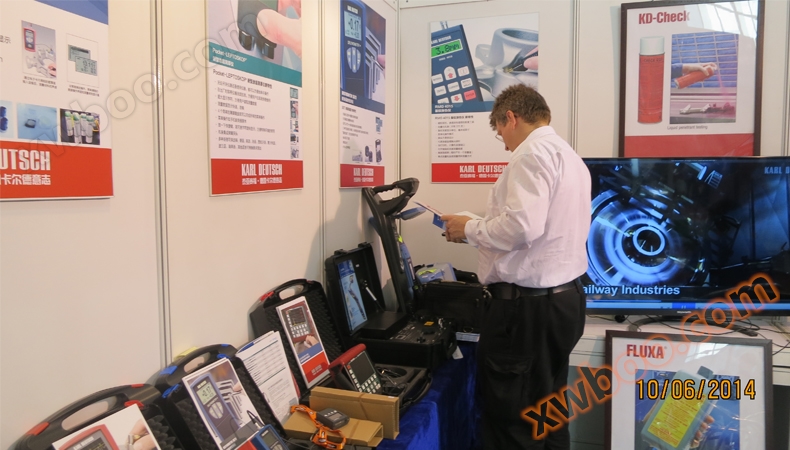
Beijing Essen Welding and Cutting Exhibition showcases German KD non-destructive testing equipment on site

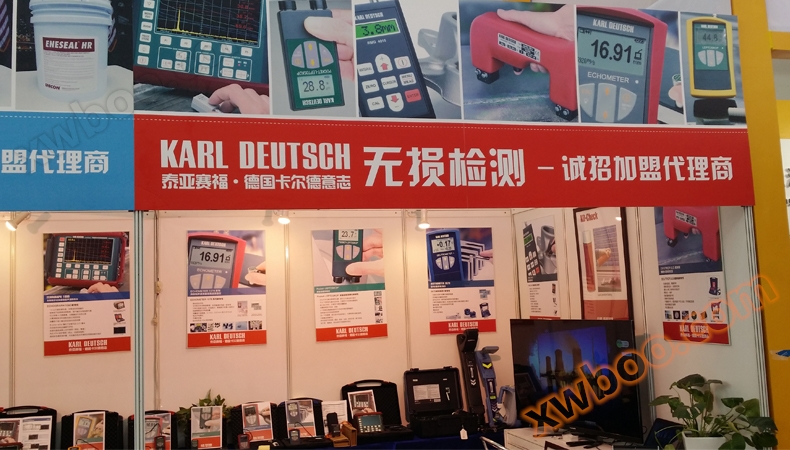
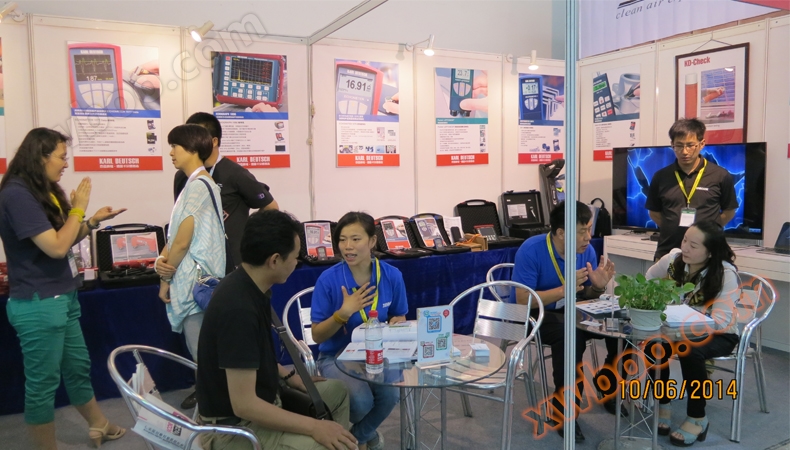

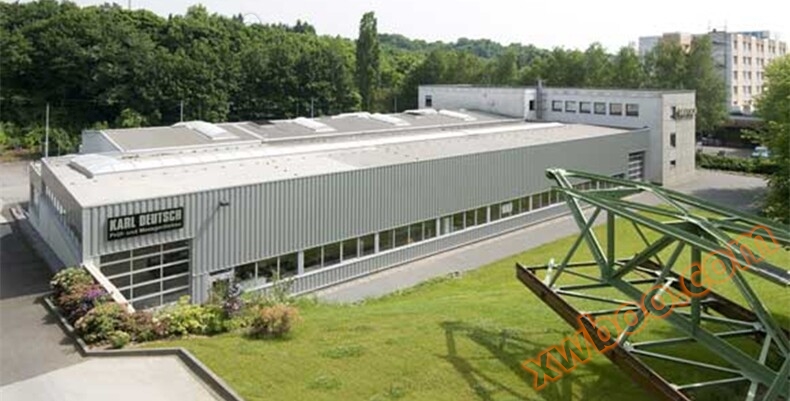
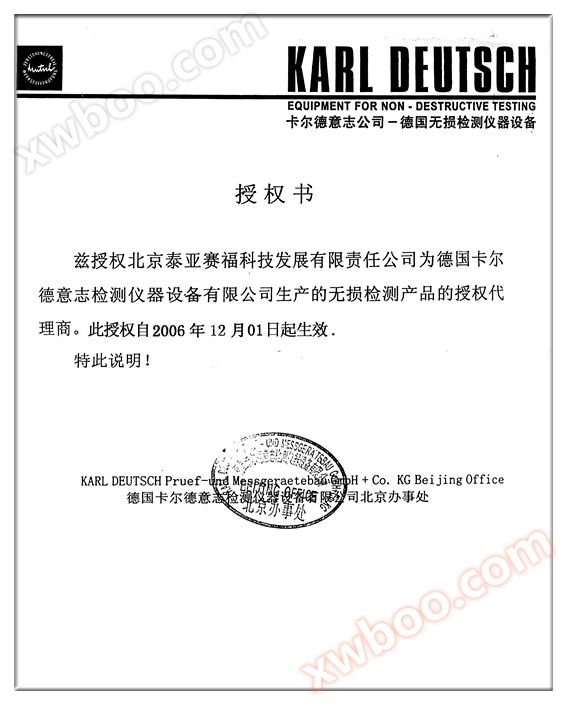
Karl Deutschland GmbH was founded in 1949 in Uptal, Germany. Since its establishment, the company has been committed to researching and manufacturing non-destructive testing (NDT) products. The products include digital and analog ultrasonic flaw detectors, thickness gauges, coating thickness gauges, crack depth gauges, ultrasonic testing systems, magnetic particle testing instruments, magnetic suspensions and other testing accessories, penetration testing kits and penetration testing fixtures.
KD Company's products are characterized by continuous innovation and safety and reliability, with product trademarks ECHOGRAPH, ECHOMETER, DEUTROLUX, LEPTOSKOP, FLUXA, KD Check, and RMG renowned worldwide.
KD Company has always relied on rich practical experience, theoretical knowledge, and over 60 years of professional expertise to create advanced instruments and accessories that comply with the quality management assurance system. In the future, KD will develop higher quality, more reliable, and more economical products to meet the needs of customers.
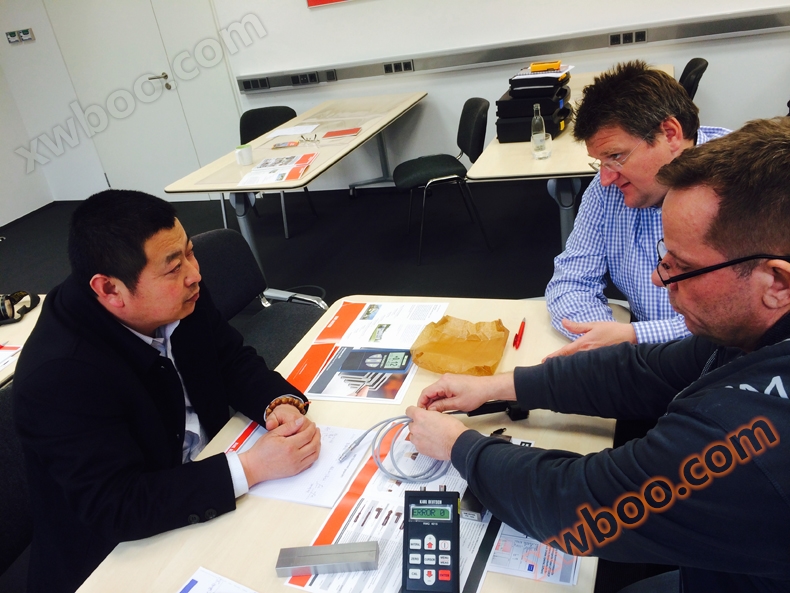
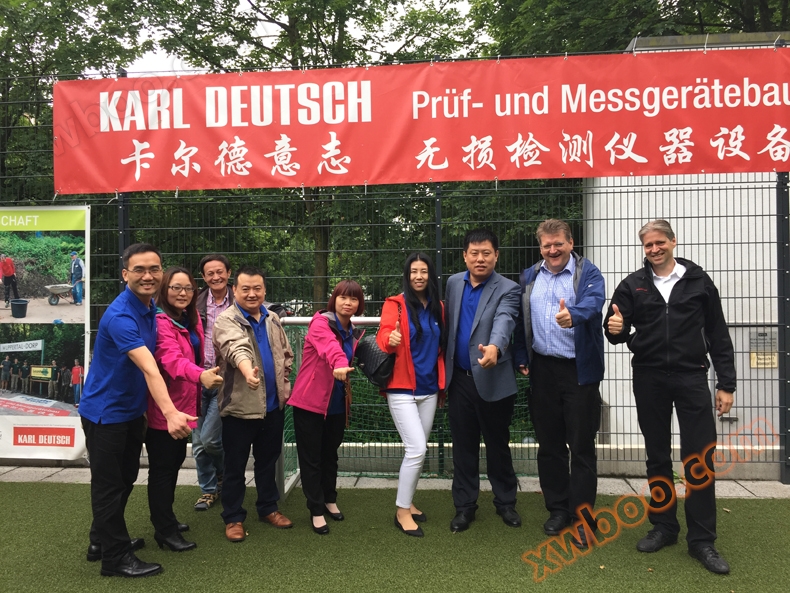
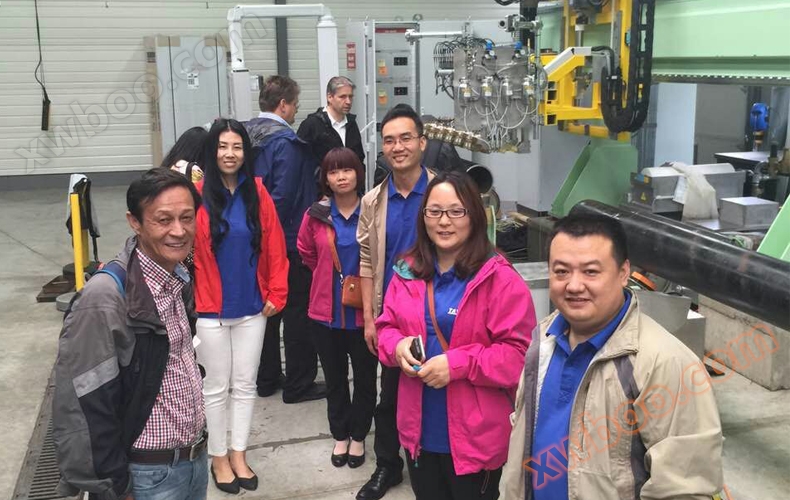
Taia Saifu employees went to the Karl German headquarters in Germany for a two-week technical training program
Although the operation is correct, the measured values and functions cannot be executed again?
Check if the battery warning LOW BAT is displayed. If so, replace the battery or charge the rechargeable battery.
Is there no display when the switch is turned on?
Replace the battery or charge the rechargeable battery
Error message appears?
Identify the cause of the ERROR and correctly input or correct the operation based on the reason.
No measurement value displayed?
Correct the error and recalibrate.
Is there a deviation between the measured value and the actual value?
Re calibrate; Determine the material correction factor; Probe damaged
The measured values were not transmitted to the printer?
Check the cable connection (loose connection, no plug inserted...); The printer is not turned on; The printer battery is depleted, replace the battery or charge the rechargeable battery!
product video
GermanyKD 4015Software debugging of crack depth gauge
Product Description
Click to download the Chinese instruction manual

